
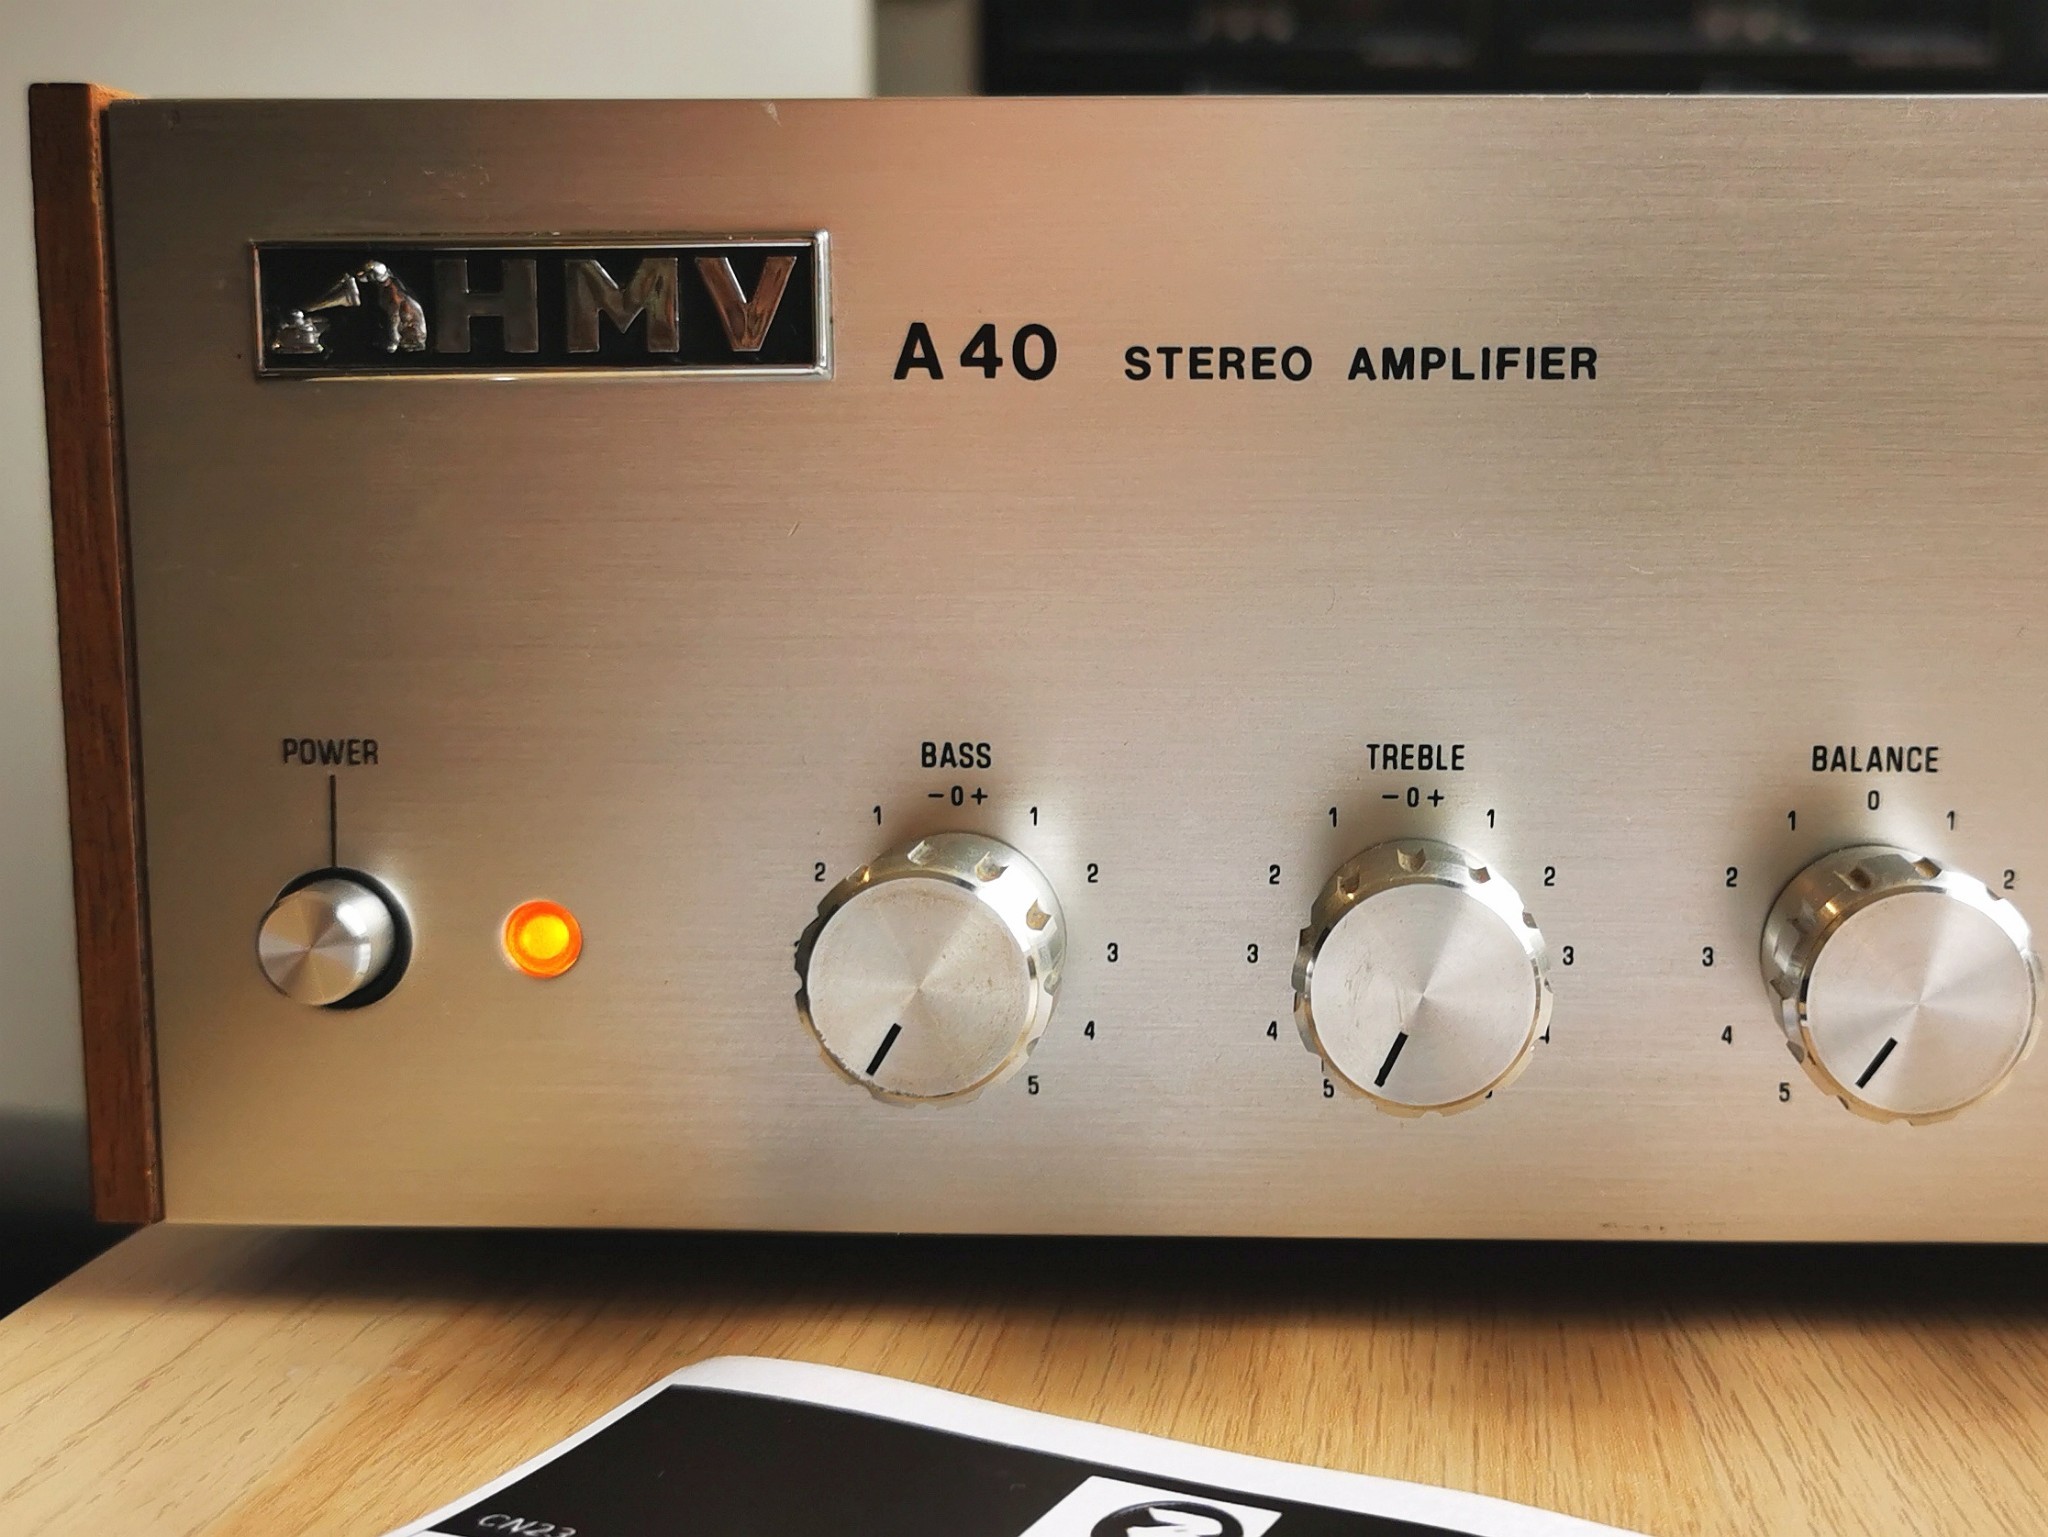
The His Master's Voice (HMV) A40 model stereo amplifier
I saw this at an op-shop near our house and naturally, had to have it immediately. While the pricetag on the top stated $50, at the front counter the lady dropped it down to $30 as it had a yellow tag for not being tested to modern safety standards and therefore non-returnable. Obviously, its an absolutely gorgeous looking piece of equipment, but lets talk capabilities.
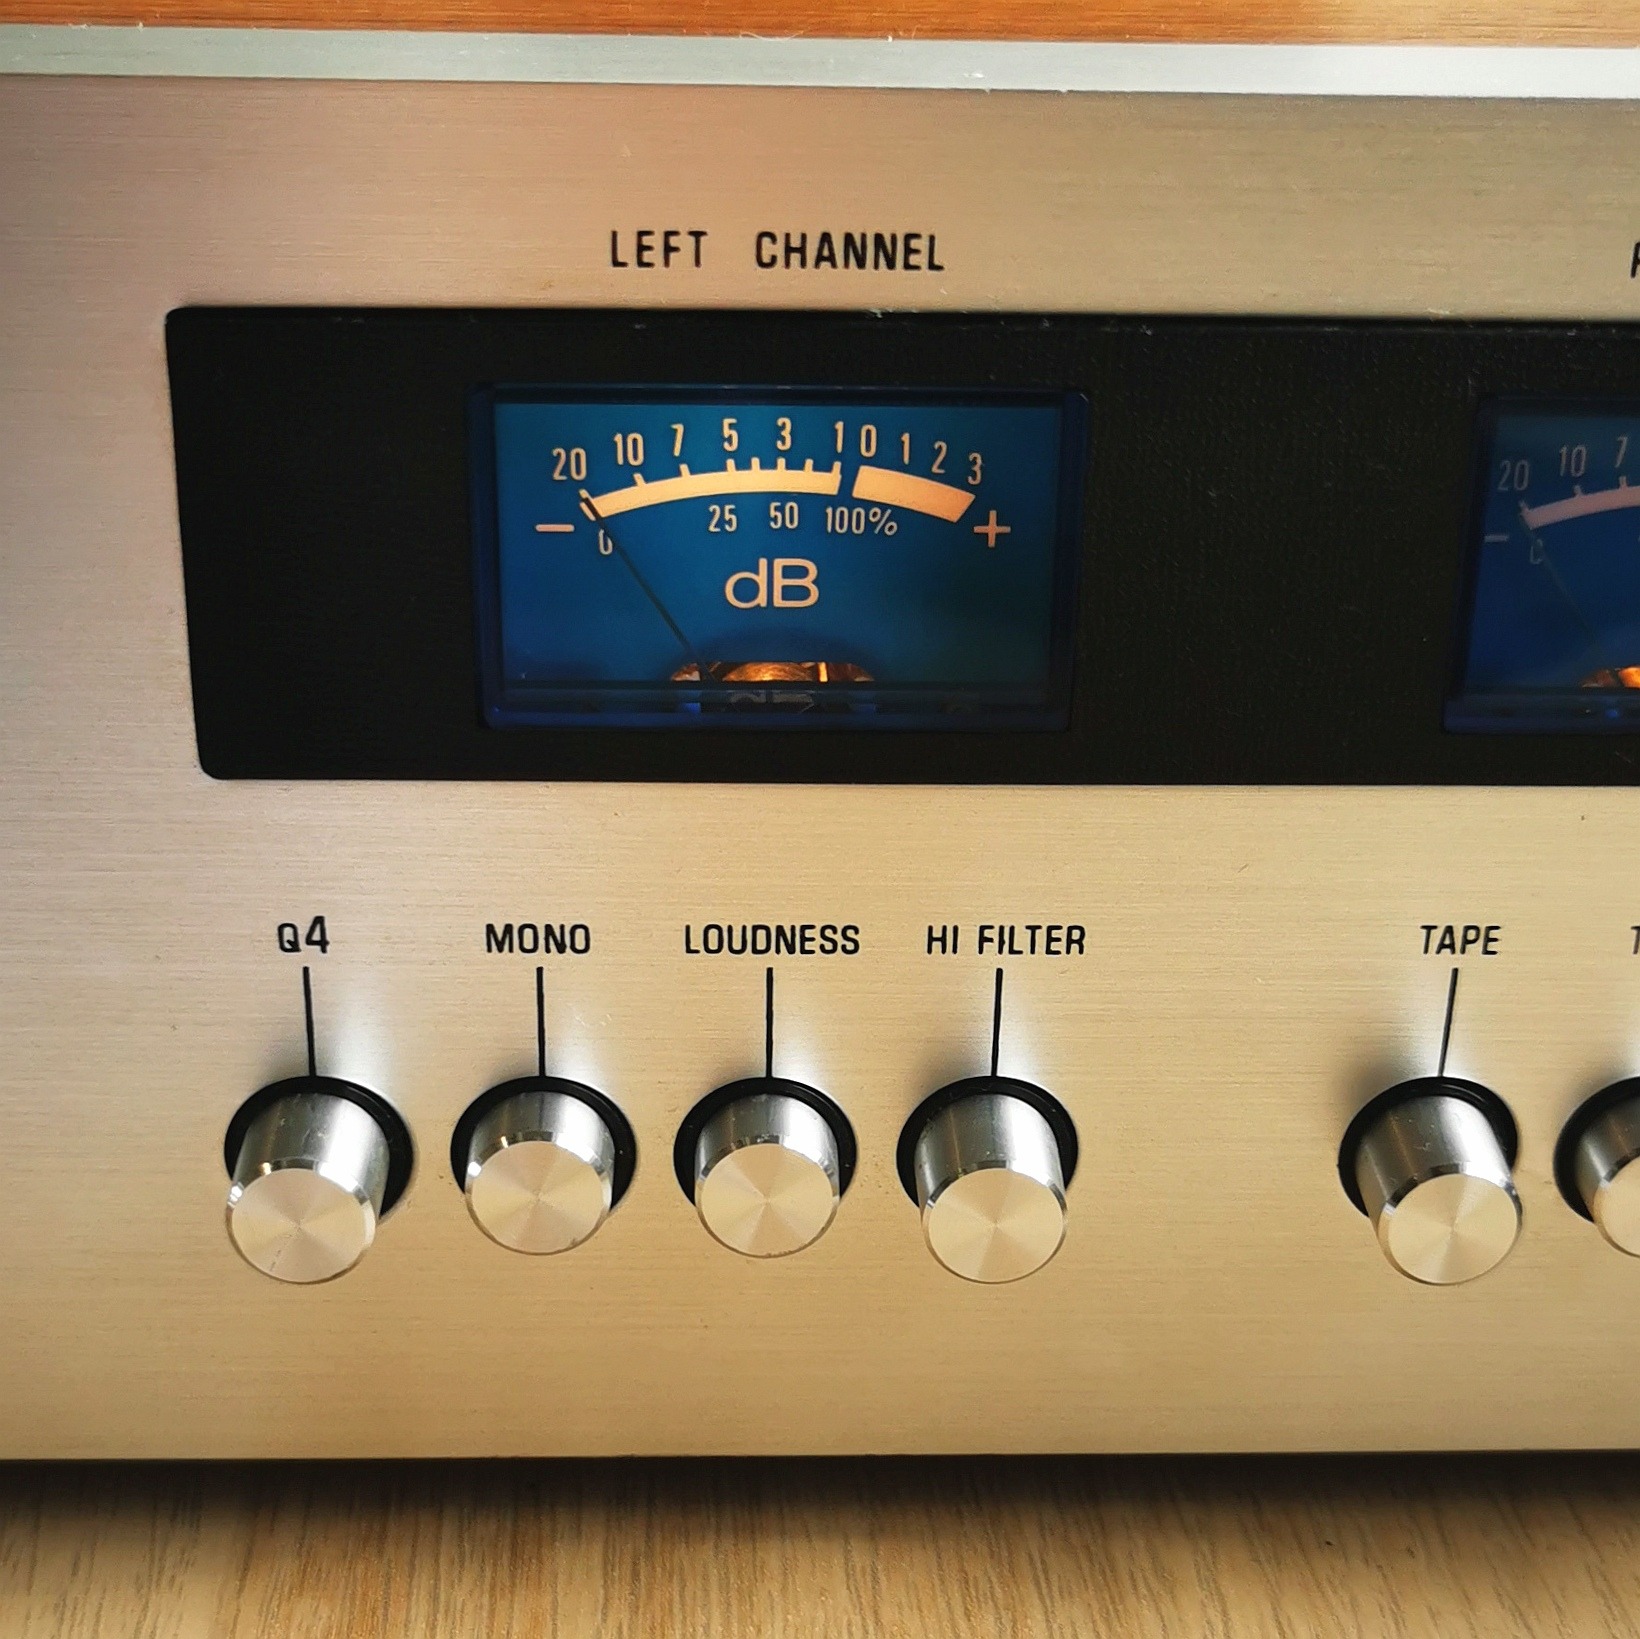
It's a fairly standard early-70s amplifier - bass and treble knobs, inputs for tape, tuner, crystal-cartridge record player and moving magnet cartridge, as well as a quadrophonic synthesis option, mono, loudness and hi-filter buttons. The fact it has a dedicated crystal cartridge input - and screw terminals for speaker wire on the back - is why I'm fairly confident its from the early 70s, as crystal cartridges were more or less completely obsolete by the time 1980 hit, and were steadily going out of fashion throughout the 70s. I am, by the same token, also confident its not from before the 70s - first of all, here in Australia, there's very little gear of that vintage kicking around, but secondly it tended to have a much different visual style, often with thick black plastic buttons instead of stainless steel of the 70s, and you certainly wouldn't see a Q4 button on a 60s amp.
I'll add some photos of the back and insides in the coming days - this thing is constructed quite differently to later amps, and while it's likely a budget/lower end model (being HMV badged), it's remarkably serviceable. On most later amplifiers, the top and sides is the first thing to remove, being typically a single sheetmetal piece, and that gives you access to most of the insides at once, with the potentiometers often being annoying - especially on budget models - as they're frequently sandwiched between the faceplate and a circuitboard on the inside, forcing further disassembly to access. This machine, meanwhile, is an absolute delight - you start by unscrewing the bottom panel, which lifts right off to reveal.. more metal panelling, it actually has a second internal metal chassis that everything is attached to and the bottom cover just serves to protect the innards and help secure the wooden casing.
Helpfully though, that internal chassis has a tidy cutout to let you access the potentiometers for contact cleaning right off the bat, making that sort of regular maintenance a breeze. It also has some cutouts to the undersides of the circuitboards - in typical 70s fashion, plug connectors on PCBs weren't exactly common, and instead plenty of wires around the unit are soldered directly to their respective boards, but the chassis makes an admirable effort of giving you easy access to desolder things. Certainly less fiddly than my reel to reel!
With the bottom cover gone, one more screw releases the whole wooden top-and-sides cabinet, and there you have it, complete access to the interior! Incredibly, too, on the inside of the wooden casing is a wiring diagram with all the capacitor and transistor specs written on it - which I'll be sure to post images of when I next have it open, and will also be taking advantage of, as at current the audio output from this tired old dear is plagued with a constant hiss - which I suspect to be the doing of some noticeably corroded main output transistors.
As well as the electrical issues, this one has some minor other flaws - the spring behind the power button is rusted, so when you try to power it off the button often stays pressed down, and as visible in the photos, one of the globes for the meters is dimmer than the other. I think these should all be fairly achievable repairs, or at the very least good practice for me! While I don't strictly speaking need a new amplifier, I'm very glad I picked this up, and really excited to get it working, it looks like it'll be a true joy to repair. I do need to learn how to fix amps sooner or later!