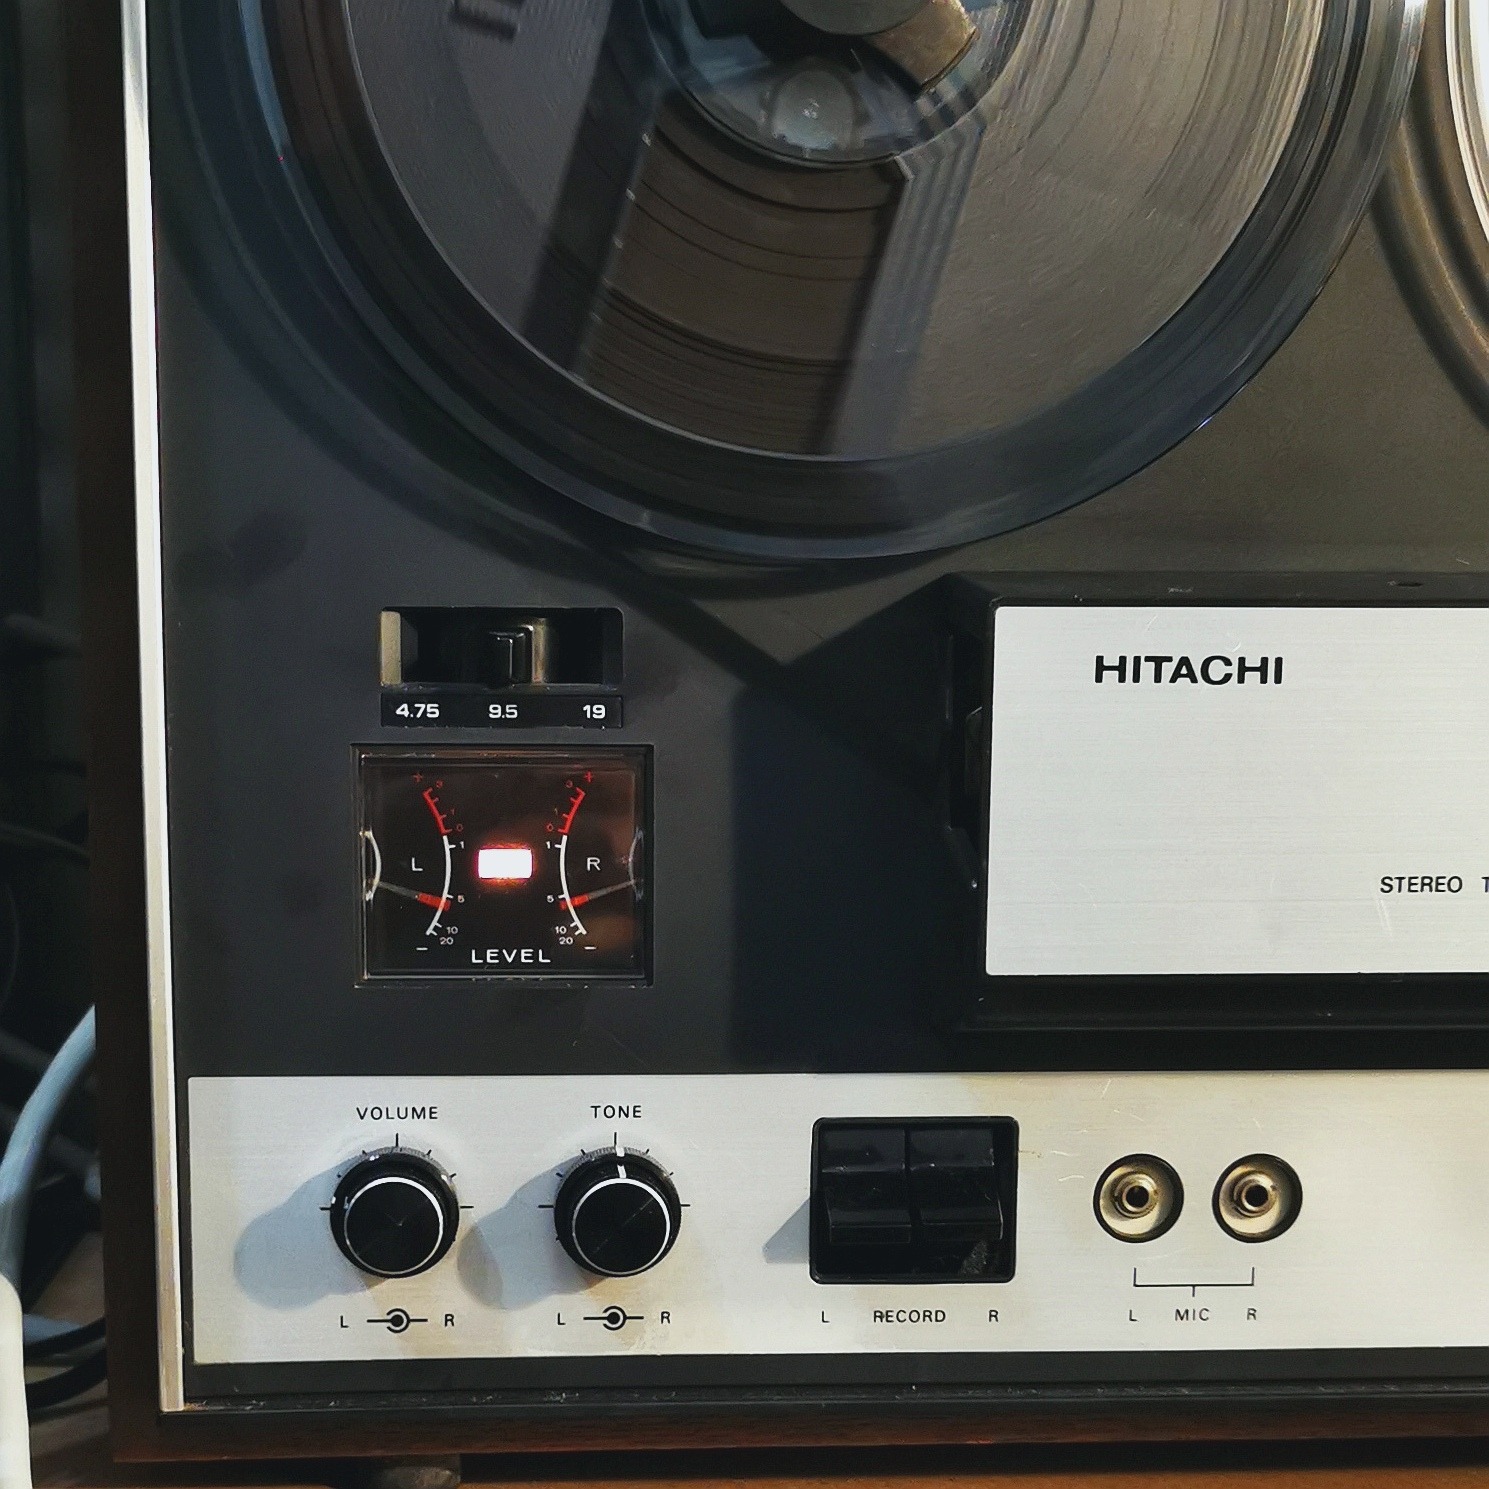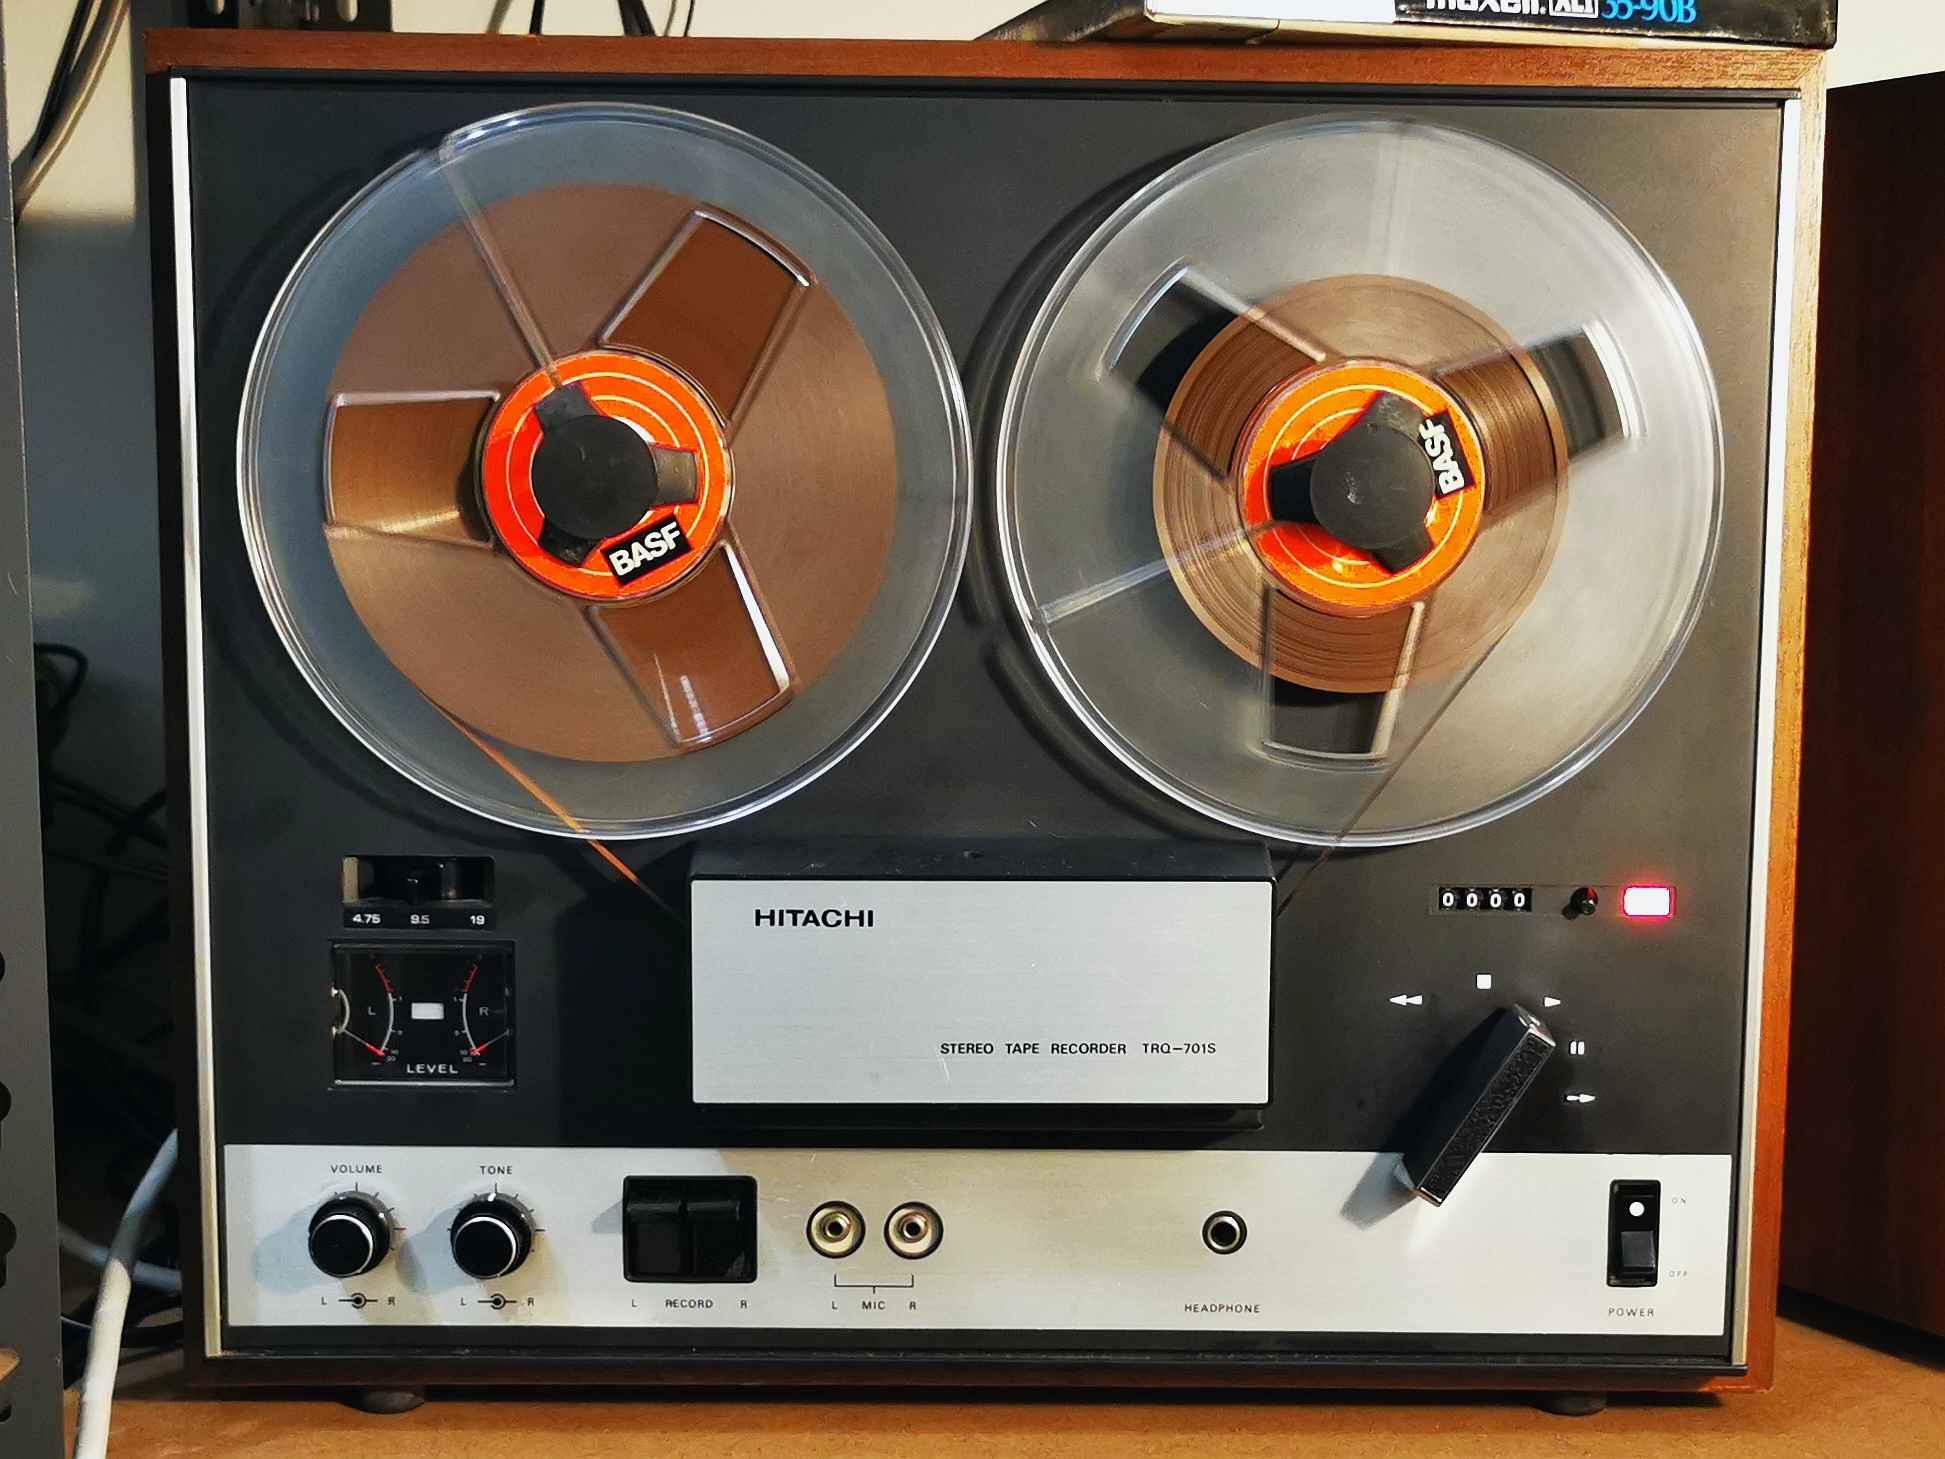


Hitachi TRQ-701S Reel to Reel tape recorder
Got this in "not working" condition for $50 (Australian) at a garage sale. The USAmericans in the audience might be sneering at that price for a no n-functional machine of this tier, but the market here in Australia is quite barren and that's a price I'm happy with - keep in mind that I've been frequenting op shops, pawn shops and garage sales continuously for a good 2 years, and this is to this date the single time I have seen ANY open reel recorder in person, ever, full stop.
So, happy with the price! A little information about the unit itself - the Hitachi TRQ-701S tape recorder is a basic 2-head stereo tape recorder that can do 17/8, 33/4 and 71/2 inches per second, has separate level settings for the left and right channels and a tone control, and a built in power amp, with quarter inch mono jacks on the back to drive a pair of speakers. The transport is fairly simple, a single motor design where the capstan and takeup reel are idler driven - of the 3 belts in the machine, 2 of them are to drive the tape counter, and 1 is for the supply reel to drive rewinding.
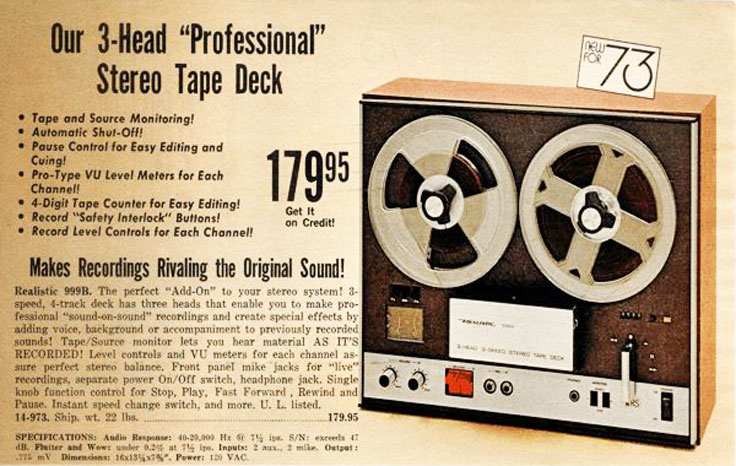
There were a variety of similar guises for both this specific machine and many of the parts - Hitachi's main business is and always has been in supplying components for other companies, selling stuff under their own name is a side-hustle. The closest relative is the Realistic 999B, a 3-head version. Hitachi also sold the TRQ-750D, which is nearly identical to mine but lacking the tone control and power amp, and the slightly up-range TRQ-730D, which is a 3-head model that uses sliders for volume setting instead of knobs, but is otherwise mechanically identical. (it doesn't appear to use the same main PCB though). The transport also appears to have been shared by the Ampex AX-50, but I'm not 100% on that as I haven't seen much by way of internals for the Ampex. It is known to be produced by Hitachi, though, so seems likely.
When I got this one, it was in very dirty and miserable condition - the matching speakers had a spiders nest in them, and the machine looked awful, but it cleaned up quite easily, it was mostly just dust and dead spiders from having been left unattended in a shed seemingly since it stopped being used in the 80s. Initially it wasn't working, the motor hummed but nothing happened when engaging the levers, so it sat on my shelf untouched as a display piece for quite some time before I finally decided to properly take a look into it.
Much to my surprise, simply leaving it with the mechanism engaged in play mode whirring away (with the auto-stop arm held upwards to keep it running), it picked up and started working again - the machine just needed a bit of "exercise", it seemed, and after a bit of time running it was cheerfully spinning away. Mostly. It was decidedly still in need of work - the takeup reel was particularly sluggish, the pinch roller hardened and dirty, etc etc, the usual mechanical aging, but I was still thrilled that a machine that'd been left unattended in a shed for longer than I've been alive was able to spin at all
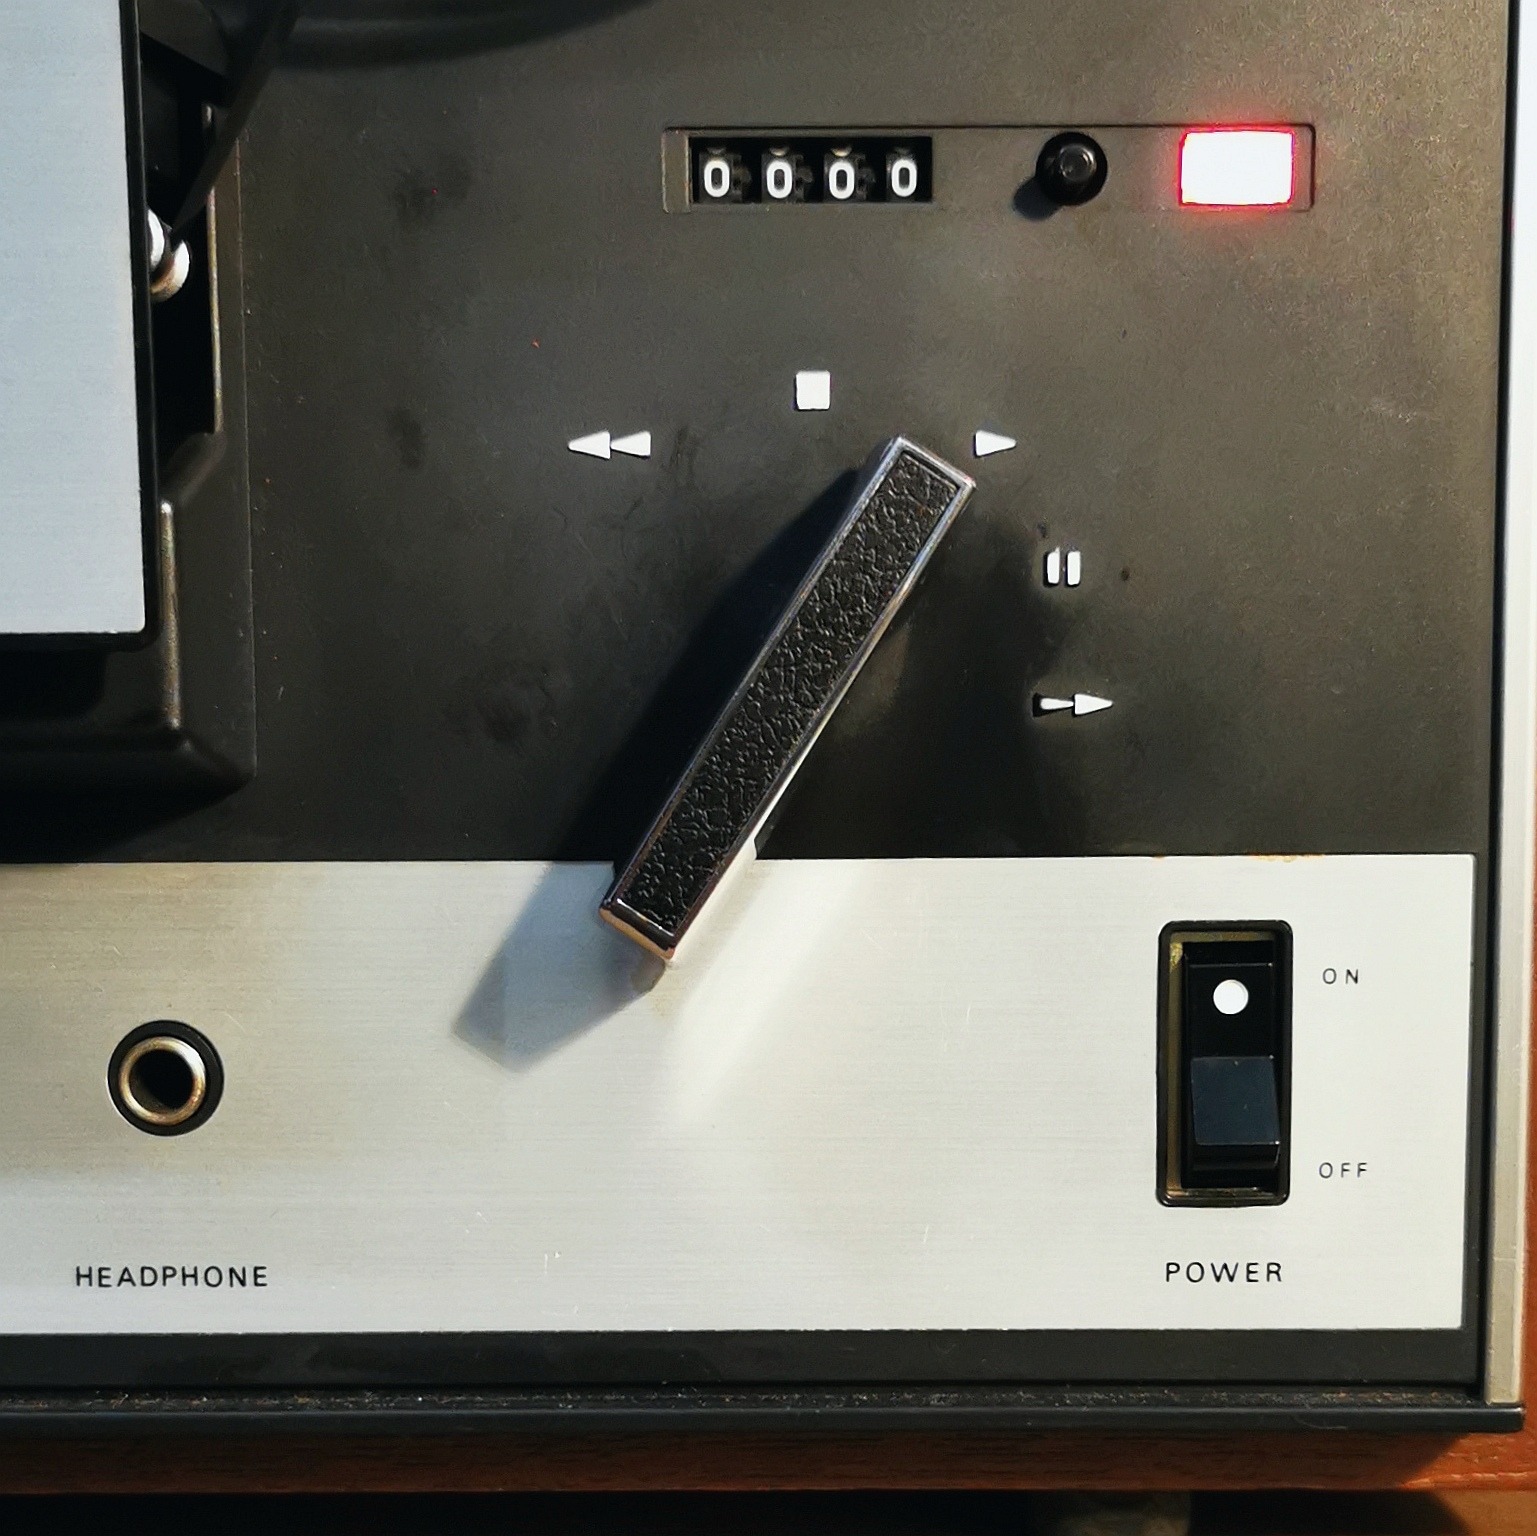
Dismantling it is fairly easy - the volume and tone knobs pull right off with a little force, while the paddle lever has a screw in it. Remove those and the head cover, then remove the back panel. On the left and right edges, on the sides, there's a pair of screws - removing those four screws frees the wooden cabinet entirely, and that gives you access to a handful of screws around the rim of the faceplate to remove that too, and tadaa, the whole mechanism is freed from the chassis to work on!
I'm thoroughly impressed by the build quality on this machine - it may be a cheap model but its still made of thick, heavy metal pieces that are designed quite cleverly to make the mechanism all work. That said, there's a single idler wheel that drives the capstan (which has a huge flywheel on it, really impressive) and the takeup reel, and it was rock solid - after alcohol had minimal results, I instead used extremely fine grit sandpaper on it. This was very much successful in improving the grippiness of the surface, but I also got a little too enthusiastic and wore it down too small, which now means the machine plays NOTICEABLY slow.
Additionally, while mechanically operable, electronic faults quickly became clear - the left audio channel is extremely quiet, and heavily distorted, pushed towards the low-end, and any recordings come out at a much lower level than the machine was set to during recording. At the time of writing, I have the circuitboard removed from the machine with the intention of re-capping it. They say that if someone has hand-grenade replaced every single capacitor in a machine it's because they have no idea what they're doing, an they're right! I don't know head nor tail of this but I figure its a good place to start. I may also replace the output transistors.


It took desoldering 29 individual wires to get at the circuitboard and remove it from the chassis - quite the pain, so each of them both has a little label with a number attached to the wire itself, and that number noted on the diagram so I know where to put each wire. Right royal pain, its sure to be. I'm only replacing the electrolytic capacitors, and possibly the main output transistors. Here's a shopping list for those following along at home!
4x 100uF 25V
2x 470uF 25V
1x 47uF 25V
4x 10uF 25V
4x 3.3uF 25V
2x 33uf 25V
2x 4.7uF 25V
2x 100uF 16V
2x 1uF 16V
2x 100uF 6.3V
3x 2SC984S transistors (can be replaced with KSC2383, but may need new heatsinks
So, at current I'm just waiting for some capacitors and transistors in the mail - and heat-shrink tubing, to get the idler wheel back up to size. No idea if that'll work, but only one way to find out! Also worth noting that you can replace capacitors with higher rated voltage capacitors as long as the uF rating is the same - this is good because 1uf 16V capacitors in the form factor needed here seem to not really be a product anymore, I'll likely be replacing them with Nichicon 50V 1uF caps instead. More to follow!
And, here's the more, as of 20/9/24! The astute amongst you may notice the capacitor list has been updated - I misread two, and while I thought I required 6x 3.3uF, two of those are actually 33uF. I decided to leave those two, every other capacitor has been replaced as have the 3 main output transformers - unfortunately to no avail (barring the soldering practice gained the process, which may well be more value than the machine itself). Unfortunately for me, after the laborious endeavour of soldering all those wires back onto the circuitboard - many through the middle of holes in the centre of it, no wires with enough length to make it easy - the machine sounds exactly as bad as before.
This lack of results is somewhat disheartening, as it means that the issues with the machine lie elsewhere in the unit, but it is a good lesson in why re-capping off the bat is a rookie move. Sometimes it doesn't work, and its not cheap and not fast! On the plus side, if I do manage to get the machine fully operable, it'll sing like a charm with this refreshed circuitboard. But, where to next? My next port of call is the tape head itself - its got a fairly noticeable wear pattern, and its worn unevenly on the pickup for the left channel, so I suspect that relapping may be in order. My current plan is to test this first by simply swapping the head-connection wires around, so the PCB's right channel is plugged to the left pickup and vice versa. If this swaps the poor quality sound to being on the right channel, that'll indicate the issue lays in the head itself - if the issue stays on the left channel with the wires swapped, that means the board itself is at fault.